Alerts
Alerts Overview
Alerts remind you of important events, warn you about the status of an account and notify you when transactions occur. When an alert is created, you can specify the conditions that trigger the alert as well as the way that you receive the alert. These conditions vary depending on the alert type.
Alert types include the following:
You can choose to receive alerts in any of the following ways:
- Secure Message
- Telephone Call
- Text (SMS) message
You do not need to be logged in for an alert to be sent. Secure message and email alerts are sent immediately when they are generated. You can specify the time at which an alert is sent.
Creating an Alert
When you create an alert, it takes effect immediately and stays in effect until you disable or delete it.
To create an alert:
- From the left navigation menu, click or tap Settings.
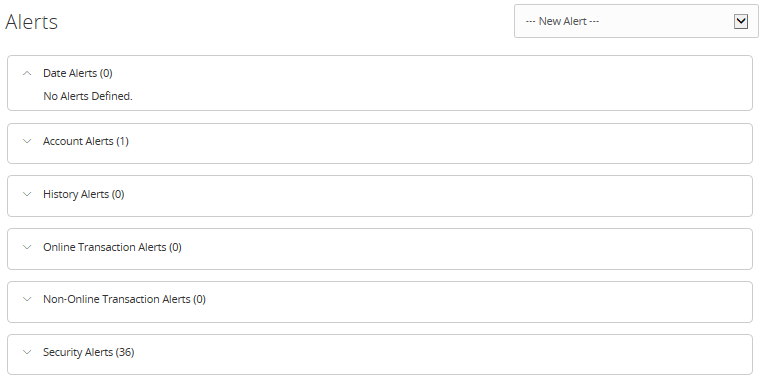
- In the Settings list, click or tap Alerts. The Alerts page will appear.
- In the New Alert drop-down list, click or tap the alert type that you want to create. The New Alert page will appear.
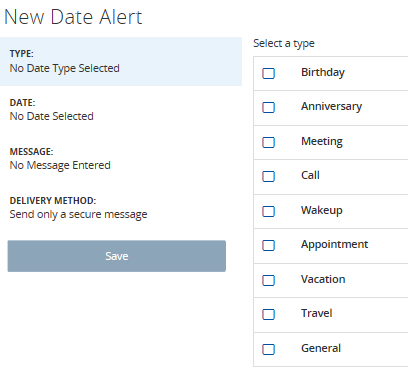
- Date Alert
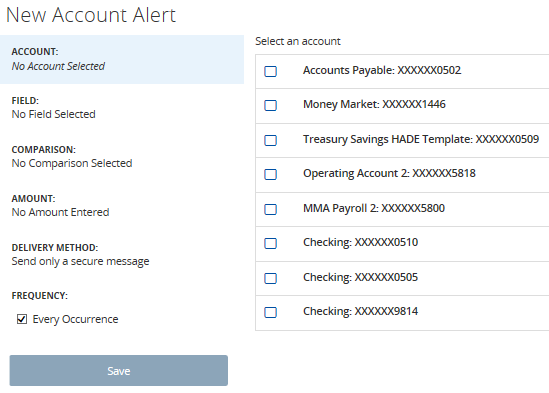
- Account Alert
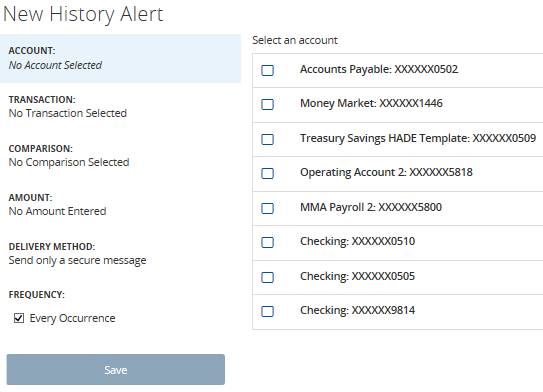
- History Alert
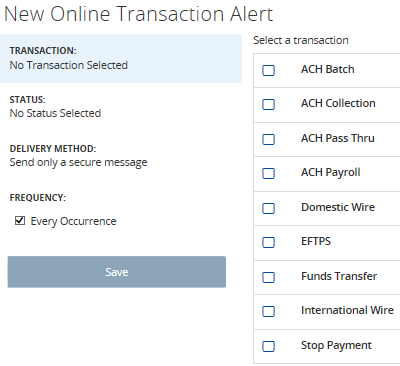
- Online Transaction Alert
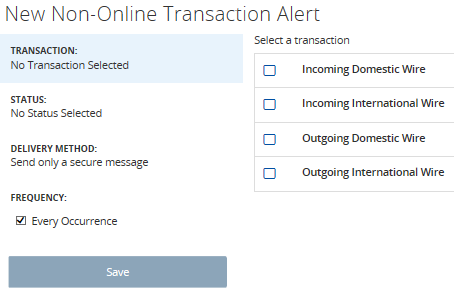
- Non-Online Transaction Alert
Note: The following options vary depending on the selected alert. Each alert will have different fields to complete
- Date Alert
- Click or tap Type to select the type of alert (used for New Date Alert).
- Click or tap Account to select the Account for the new Account Alert (used for Account Alert and History Alert).
- Click or tap Date to select a date (used for New Date Alert).
- Click or tap Message to enter a message (used for New Date Alert).
- Click or tap Transaction to select a transaction type (used for New History Alert, Online Transaction Alert and Non-Online Transaction Alert).
- Click or tap Status to select the status of the transaction (used for New Online Transaction Alert and Non-Online Transaction Alert).
- Click or tap Field to select one of the following (used for New Account Alert):
- Available Balance
- Current Balance
- Ledger Balance
- One Day Float
- Last Statement Balance
- Average Collected Balance MTD
- Average Collected Balance YTD
- Click or tap Comparison to select a comparison of either Greater than or Less than (used for New Account Alert and New History Alert).
- Click or tap Amount and on the amount screen enter the dollar amount by clicking or tapping each number, then click Save (used for New Account Alert and New History Alert).
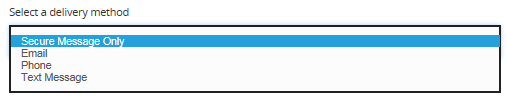
- Select one of the following from the Delivery Method drop-down list (used for all alerts):
- Select Secure Message Only to send the alert as a Secure Message. The alert is sent immediately when it is generated. You must be logged in to read the alert.
- Select Email to send the alert as an email. Enter the email address where you want to send the alert. The alert is sent immediately when it is generated.
- Select Voice to send the alert as a telephone call. Select the country from the Select Phone Country drop-down list, enter the phone number to call, and specify the time to call.
- Select Text Message (SMS) to send the alert as a text (SMS) message. Select the SMS country, and enter the number and the time to send the message, and select the Agree to Terms checkbox. Standard text messaging rates may apply based on your carrier.
- In the Frequency box, select the Every Occurrence checkbox to repeat the alert every time that the trigger occurs (used for New Account Alert, New History Alert, New Online Transaction Alert & New Non-Online Transaction Alert).
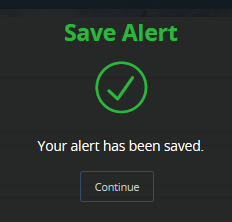
- Click or tap Save.
- In the success message, click or tap Continue. The next alert will appear on the Alerts page.
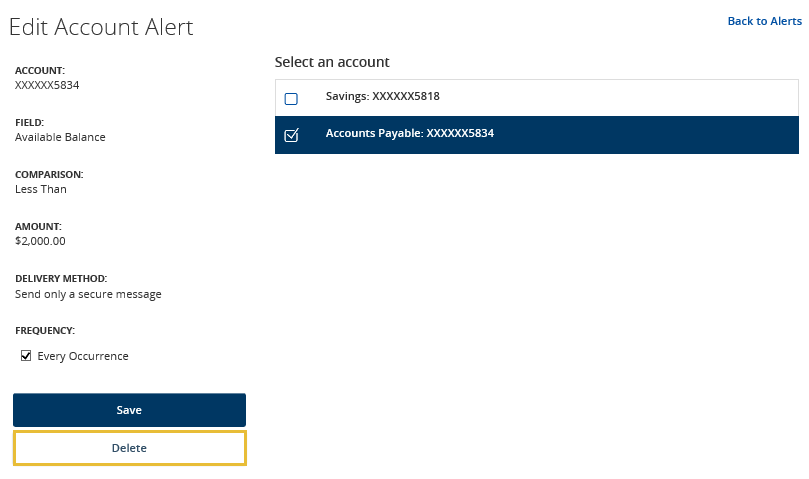
Editing an Alert
You can use the Alerts page to edit an existing alert. Alert edits take effect immediately.
To edit an existing alert:
- In the left navigation menu, click or tap Settings.
- In the Settings list, click or tap Alerts. The Alerts page appears.
- Click or tap the type of alerts that you want to edit.
- Click or tap the existing alert that you want to edit. The Edit Alert page appears.

- Make any needed changes to the alert settings, and click or tap Save.
- Click or tap Close on the Save Alert message.
Enabling and disabling alerts
You can use the Alerts page to temporarily enable and disable existing alerts.
- In the left navigation menu, click or tap Settings.
- In the Settings list, click or tap Alerts. The Alerts page appears.
- Click or tap the type of alert that you want to disable or enable.

- On the alerts page, locate the existing alert, then do one of the following in the Enabled column:
- Click or tap Off to disable the alert.
- Click or tap On to enable the alert.
Deleting an Alert
You can use the Alerts page to delete an alert that is no longer needed. Deleting an alert removes it immediately and permanently.
To delete an alert:
- From the left navigation menu, click or tap Settings.
- In the Settings list, click or tap Alerts. The Alerts page will appear.
- Click or tap the type of alert that you want to delete.
- Click or tap the existing alert that you want to delete. The Edit Alert page will appear.
- Click or tap Delete.
- When prompted, click or tap Confirm to delete the alert.
- When the deletion is complete, a message will appear. Click or tap Close.
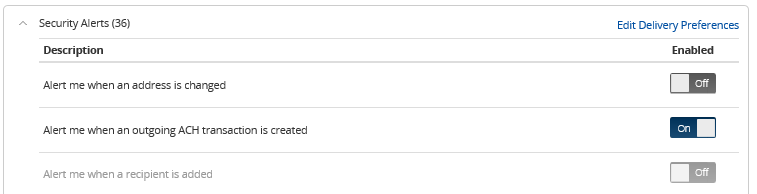
Configuring Security Alerts
Security alerts inform you immediately when a security-related event occurs. Some security alerts are required. In the list of security alerts, required alerts are dimmed. You can enable or disable optional security alerts. The available security alert types vary, depending on their account type.
When an enabled alert is triggered, we send a security alert message. Security alerts are always sent as secure messages. When a security alert is triggered, the alert is sent to all of the configured delivery methods. There are grayed out alerts that will apply to all.
Tip: You should not rely on email alerts alone. Since email can be delayed or interrupted, always use a second delivery method along with email for greater security.
Enabling Or Disabling Optional Security Alerts
- From the left navigation menu, click or tap Settings.
- In the Settings list, click or tap Alerts. The Alerts page will appear.
- Click or tap Security Alerts. The list of available alerts will appear.
- Do one of the following:
- To enable an alert, click or tap On.
- To disable an alert, click or tap Off.
- On the Save Alert page, click or tap Close.
Editing Security Alert Delivery Preferences
- From the left navigation menu, click or tap Settings.
- In the Settings list, click or tap Alerts. The Alerts page will appear.
- Click or tap Security Alerts. The list of available alerts will appear.
- Click or tap Edit Delivery Preferences. The Delivery Preferences page will appear.
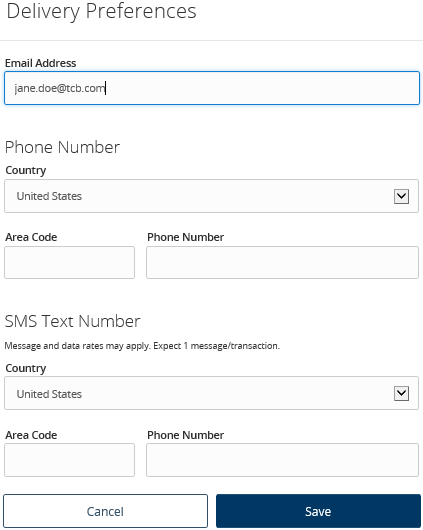
- Do the following:
- In the E-mail Address field, enter the email address to receive security alerts.
- In the Phone Number area, select the destination from the Country drop-down list and enter the phone number to call in the Area Code, and Phone Number fields.
- In the SMS Text Number area, select the destination country from the Country drop-down list, and enter the phone number to send the message to in the Area Code and Phone Number fields.
- On the Delivery Preferences page, click or tap Save. A success message will appear.